
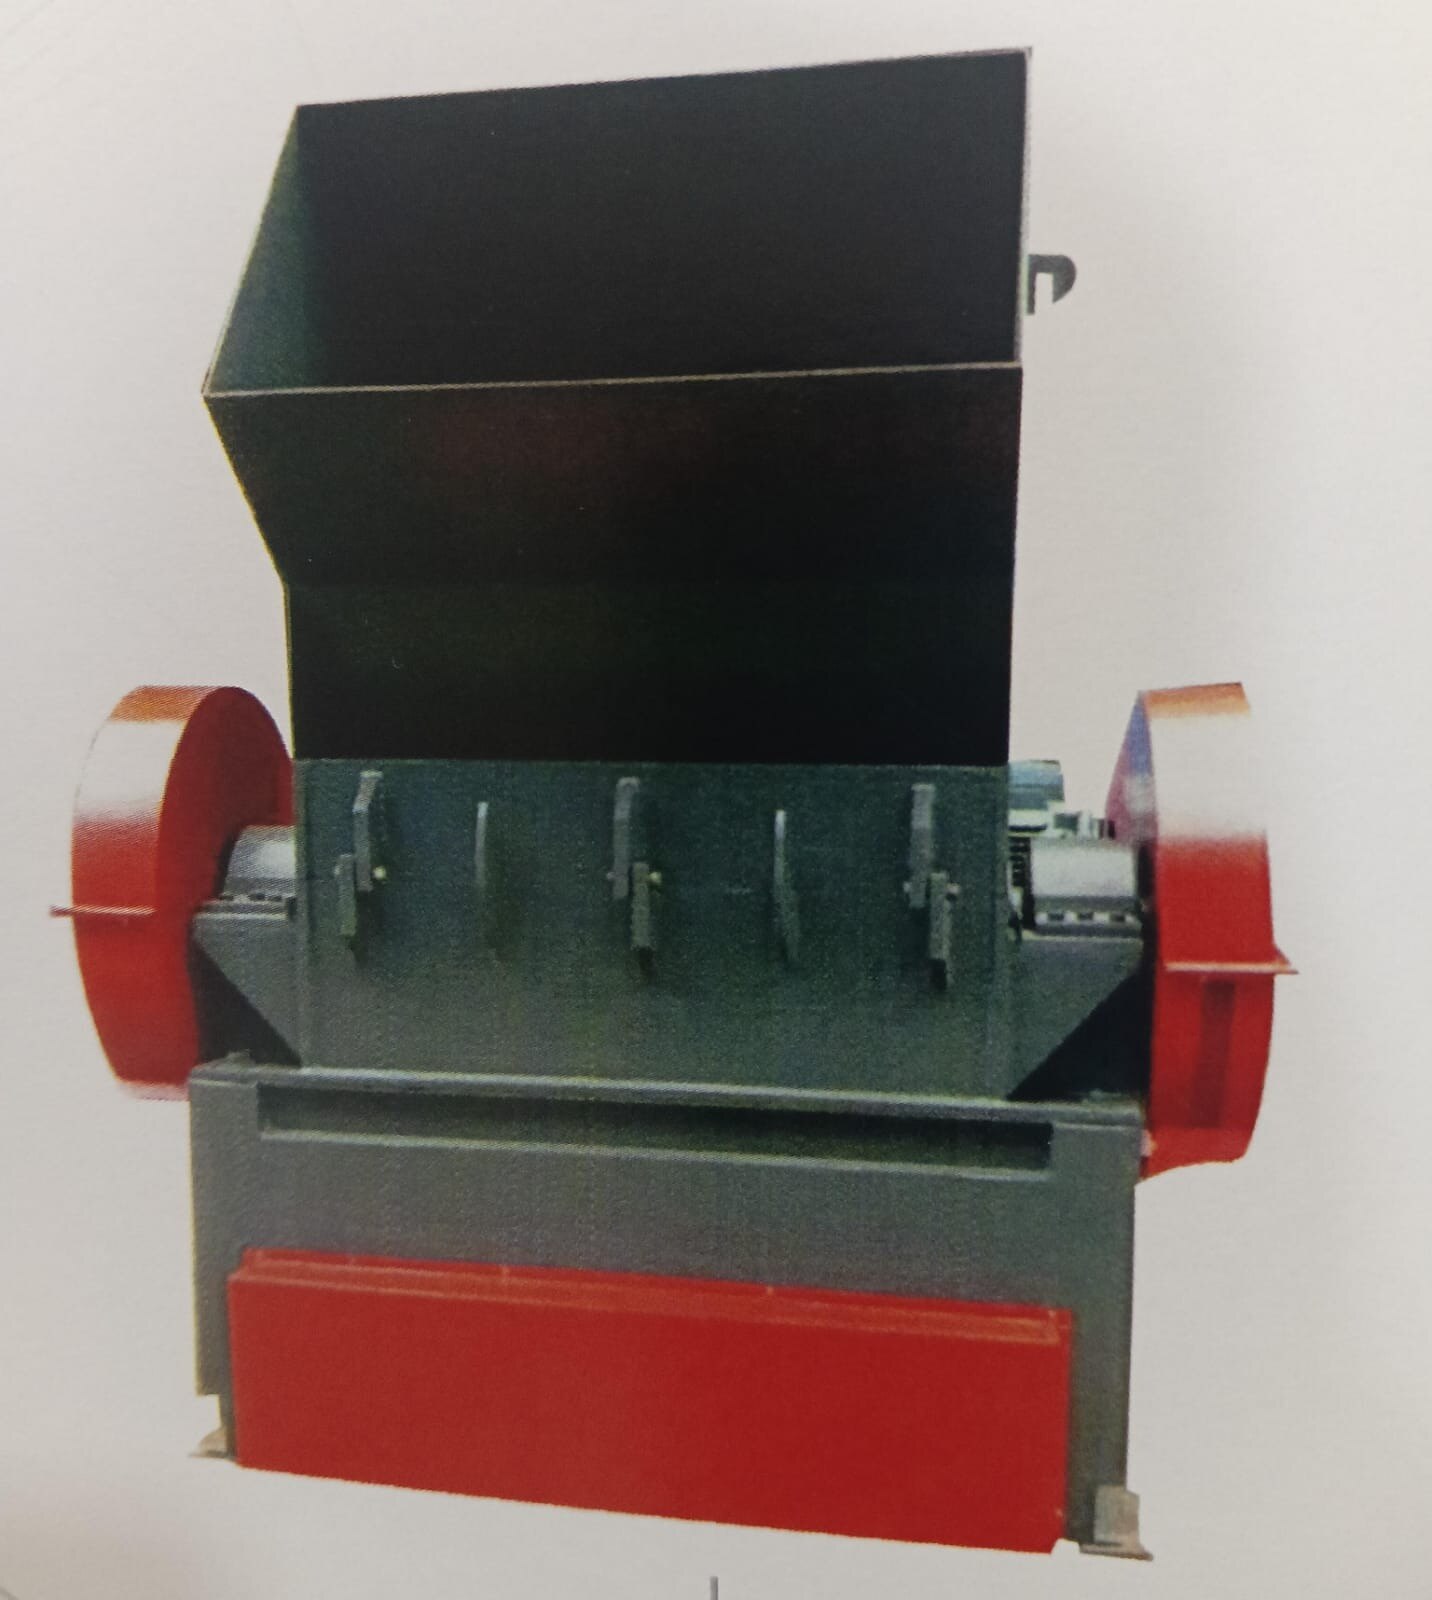
“Die bolt” is not a universal name for one standard fastener, and ordering by that phrase alone can produce the wrong thread, head geometry, or installed length. By the end, you will be able to identify the retaining joint, record the dimensions that matter, select a suitable specification, and replace the fastener without creating a rotor or cutting-assembly hazard.
Key takeaways
- Confirm whether the machine uses die bolts or rotor, bed-knife, and screen fasteners.
- Match thread size, pitch, length, head clearance, and seating surface before ordering.
- Use the manufacturer’s torque specification and tighten in a controlled sequence.
- Replace stretched, cracked, rounded, corroded, or repeatedly loosening bolts.
What does “die bolt” mean on a plastic scrap grinder?
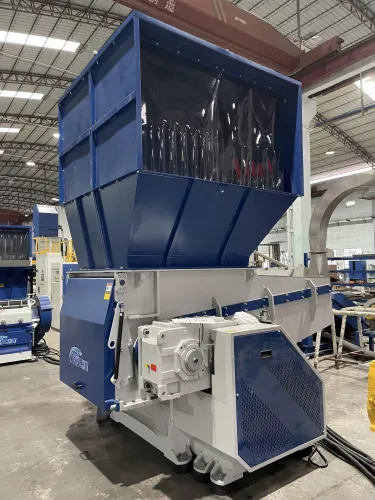
“Die bolt” is not a universal name for a plastic grinder fastener. A conventional plastic scrap grinder or granulator normally uses rotating rotor knives, stationary bed knives, and a sizing screen; it does not necessarily contain an extrusion die.
Supplier terminology may call any of these retaining fasteners plastic scrap grinder die bolts, so verify the name before ordering.
| Component | What “die bolt” may mean | Why its role matters |
|---|---|---|
| Knife holder | Fastener clamping a rotor or bed-knife holder | Exposed to rotor impact, vibration, and cyclic shock |
| Die-like wear plate | Fastener securing a replaceable wear surface | Failure can shift the plate into the cutting path |
| Screen assembly | Fastener retaining the sizing screen or frame | A loose joint can cause rubbing, cracking, or screen movement |
| Cover or guard | Fastener securing an access cover | Important for containment, but not loaded like a knife joint |
A die bolts recycling machinery enquiry needs the machine model, assembly identification, and a photograph of the installed fastener, not only the words “die bolt.” Compare those details with the OEM drawing, parts list, and assembly location. Confirm the joint, component, thread, grip length, head geometry, and seating surface before specifying a replacement.
A cover fastener and a knife-retaining fastener are not interchangeable. The latter must withstand shock from metal, stones, hardened wire, or e-waste fragments entering with plastic; failure can involve fatigue, loosening, thread stripping, head damage, or rotor contact. Treat die bolts as a machine-specific description until the joint and drawing confirm exactly what they secure.
How do you match replacement die bolts to an existing machine?
Match the fastener to the joint, not to the phrase “plastic scrap grinder die bolts.” Identify the machine model, assembly location, and installed plastic grinder parts, then record:
- Nominal diameter, thread pitch, thread form, total length, length under head, threaded length, and shank diameter.
- Head diameter, head height, drive style, seating surface, washer arrangement, hole depth, and clearance around the rotating assembly.
- Whether the shank is partially threaded or fully threaded. Unthreaded length changes bending and shear at a knife or holder joint.
Clean exposed threads before measuring. Use a caliper for diameter and length, a thread-pitch gauge against clean threads, and a known undamaged sample from the machine or OEM drawing. Metric coarse-thread references are:
| Size | Common coarse pitch | Measurement check |
|---|---|---|
| M10 | 1.5 mm | Gauge must seat across the thread |
| M12 | 1.75 mm | Confirm diameter and pitch together |
| M16 | 2.0 mm | Check against the known sample |
| Imperial | Threads per inch | Do not convert by appearance alone |
Imperial threads use threads per inch, and fine variants exist for both systems. Visual similarity proves nothing. If measurements conflict, use the OEM drawing or measure an undamaged bolt.
Start the replacement by hand after cleaning the hole. Stop immediately if it binds. Never force it with an impact wrench, and never put a coarse-thread bolt into a fine-thread hole. Record the washer or locking arrangement too; changing it can reduce seating or foul the rotor.
Which strength, head style, and finish should the bolt have?
Turn measurements into a usable specification by recording the machine and assembly ID, bolt standard, nominal diameter and pitch, total length, threaded length, shank diameter, head style, drive, washer arrangement, coating, lubrication, and tightening method.
Confirm every dimension against the OEM drawing or an undamaged sample; a nominal M-size alone cannot identify die bolts recycling machinery or related plastic grinder parts.
| Class | Minimum tensile strength | Minimum yield or proof strength | What it does not decide |
|---|---|---|---|
| 8.8 | 800 MPa | 640 MPa yield | Head geometry, finish, or joint suitability |
| 10.9 | 1,000 MPa | 900 MPa yield | Corrosion resistance or seating design |
| 12.9 | 1,200 MPa | 1,080 MPa yield | Whether the holder can accept its preload |
ISO 898-1 class describes mechanical properties, not head diameter, head height, under-head radius, socket recess, coating, or suitability for a knife or holder joint. Measure the seating pocket and washer thickness together: the bolt must retain full contact, keep the knife or holder flat, and clear the rotor.
A stronger bolt cannot correct chips under the head, a yielded surface, damaged threads, a cracked seat, or lost preload.
Specify corrosion protection separately for wash-down water, salts, PVC additives, acids, and mixed e-waste contamination. Zinc-plated alloy steel offers common protection but needs coating and thickness details; stainless steel resists selected environments but can gall, suffer galvanic attack, and be weaker than 10.9 or 12.9.
Coated high-strength steel preserves higher strength; ask for ISO 4042 coating details and hydrogen-embrittlement controls when electroplating high-strength die bolts.
How should die bolts be installed and tightened safely?
Protect the machine before touching plastic scrap grinder die bolts: a stopped rotor is not proof that all hazardous energy has gone. Use this replacement sequence.
1. Isolate electrical power at the disconnect, apply lockout/tagout, and verify zero energy with the approved test procedure. Wait until the rotor has completely stopped.
2. Restrain unexpected movement and identify stored rotational, hydraulic, pneumatic, spring, and falling-material energy. Support heavy covers before removing their fasteners. Clear jammed scrap only with approved tools, never hands or improvised bars.
3. Remove the old die bolts, then clean the mating faces and threads. Inspect the hole for damaged threads, raised metal, chips, cracking, or contamination. Replace a bolt that binds during hand starting; never force it with an impact wrench.
4. Install the specified fastener and follow the manufacturer’s tightening pattern. Where the procedure permits, rotate the rotor manually to confirm clearance between the bolt, holder, knives, and screen before closing the cover.
5. Tighten with a calibrated torque wrench or the specified torque-angle, hydraulic-tensioning, or other controlled method. Do not substitute a generic impact-wrench setting. Record whether threads and bearing surfaces are dry, oiled, or coated: thread and under-head friction consume much of applied torque, and changing oil or coating changes preload.
6. Use threadlocker only when its temperature range, cure condition, chemical compatibility, and removal torque suit the joint. Contaminated threads can prevent curing, and the compound can change friction assumptions behind the torque value.
Document the specified run-in period and perform the required recheck afterward. Do not invent an arbitrary retightening cycle.
When should you replace the bolt instead of tightening it again?
Retightening is not a repair for a bolt that has permanently changed. Replace plastic scrap grinder die bolts after a one-time-use instruction, severe overload from metal or e-waste impact, or any defect below.
1. Reject the bolt if its threads are galled, stretched, cracked, corroded, or damaged; if the shank shows necking or measurable elongation; or if fretting marks appear beneath the head.
2. Reject it if the head is loose or battered, or if the drive recess no longer accepts the correct tool. Retightening cannot restore lost thread strength or reverse permanent elongation.
3. Inspect the mating hole and seat before fitting a replacement. Look for ovalisation, a cracked counterbore, raised metal, yielding around the seat, and chips trapped beneath the head or in the threads. A stronger bolt will not correct a damaged joint.
4. Record the machine and assembly ID, bolt standard, nominal diameter and pitch, total and threaded length, property class or material, head and drive style, coating, washer or locking feature, lubrication condition, tightening method, and required certificates for the die bolts recycling machinery order.
A photograph and “M12” alone are inadequate for a safety-critical cutter, screen, die, or holder joint. Ask a supplier to work from the OEM drawing and measured joint; Ashwini Engineering Works can be useful when one order must match the fastener with plastic grinder parts, cutter assemblies, screens, or other machinery components.
Do not order plastic scrap grinder die bolts by product name alone.
Frequently asked questions
What does “die bolt” mean on a plastic scrap grinder?
“Die bolt” is not a universal name for a plastic grinder fastener. A conventional plastic scrap grinder uses rotating rotor knives, stationary bed knives, and a sizing screen, so confirm the machine assembly before identifying a bolt.
How do you match replacement die bolts to an existing machine?
Record the thread diameter, pitch, threaded length, total length, head style, shoulder dimensions, seating surface, and available clearance. Compare these measurements with the machine manual or the original bolt before ordering.
Which strength, head style, and finish should the bolt have?
Use the strength class, head profile, dimensions, and surface finish specified by the machine manufacturer. The head must clear the rotor and screen, seat fully, and resist the grinder’s vibration and impact loads.
How should die bolts be installed and tightened safely?
Lock out and isolate the grinder, remove stored energy, clean the threads and seating faces, install the correct bolt, and tighten it with a calibrated torque wrench to the specified value and sequence.
When should you replace the bolt instead of tightening it again?
Replace a bolt when it is stretched, cracked, bent, corroded, thread-damaged, rounded at the head, missing material, or repeatedly loosens after correct installation.